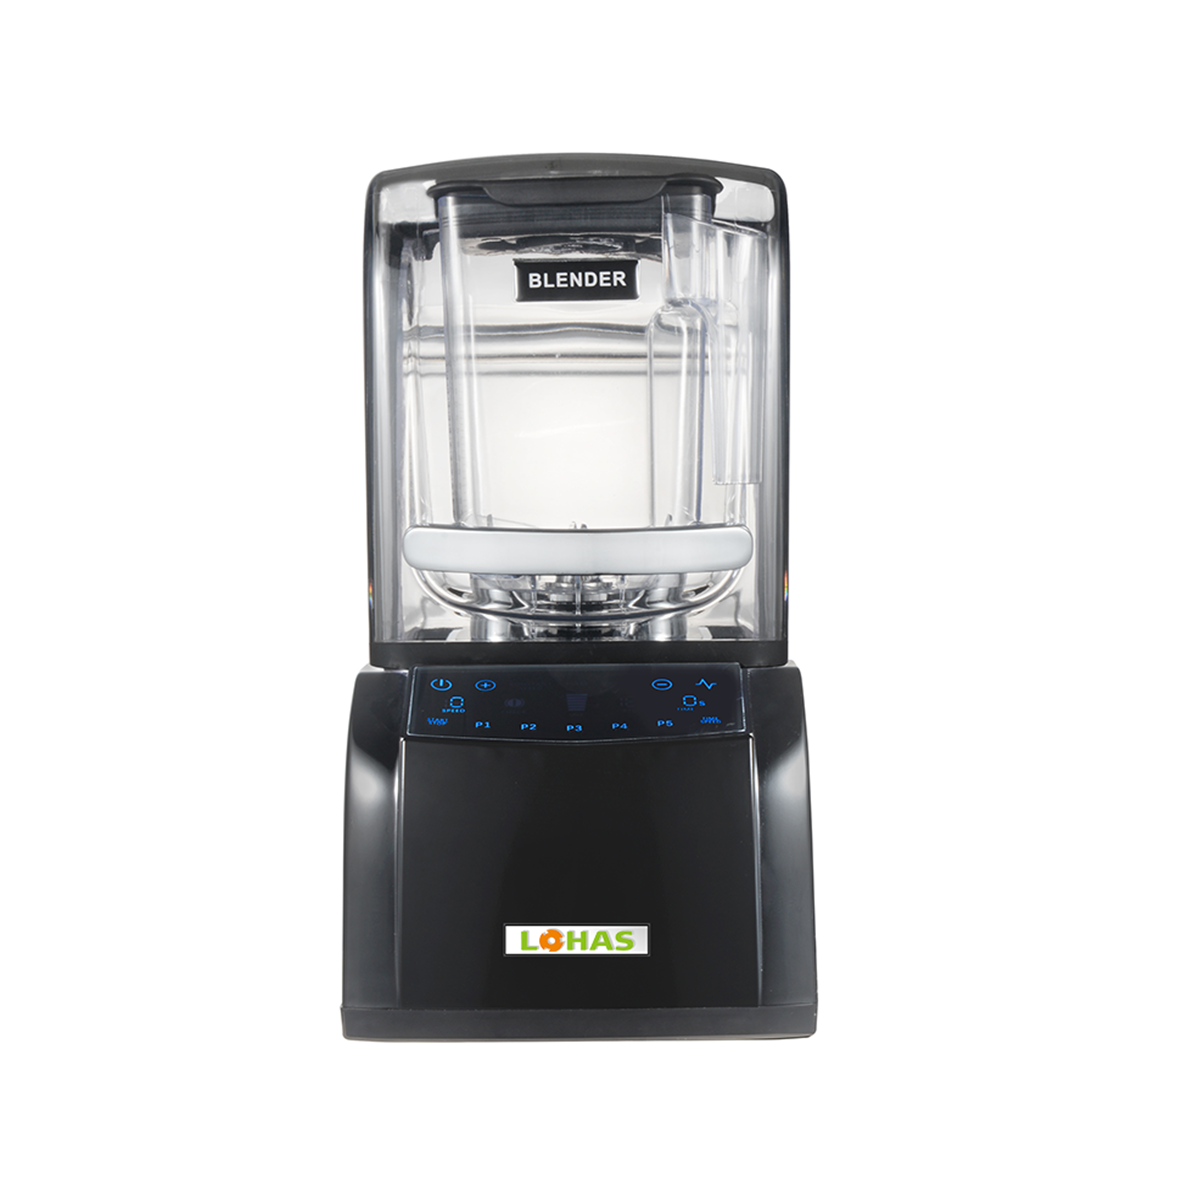
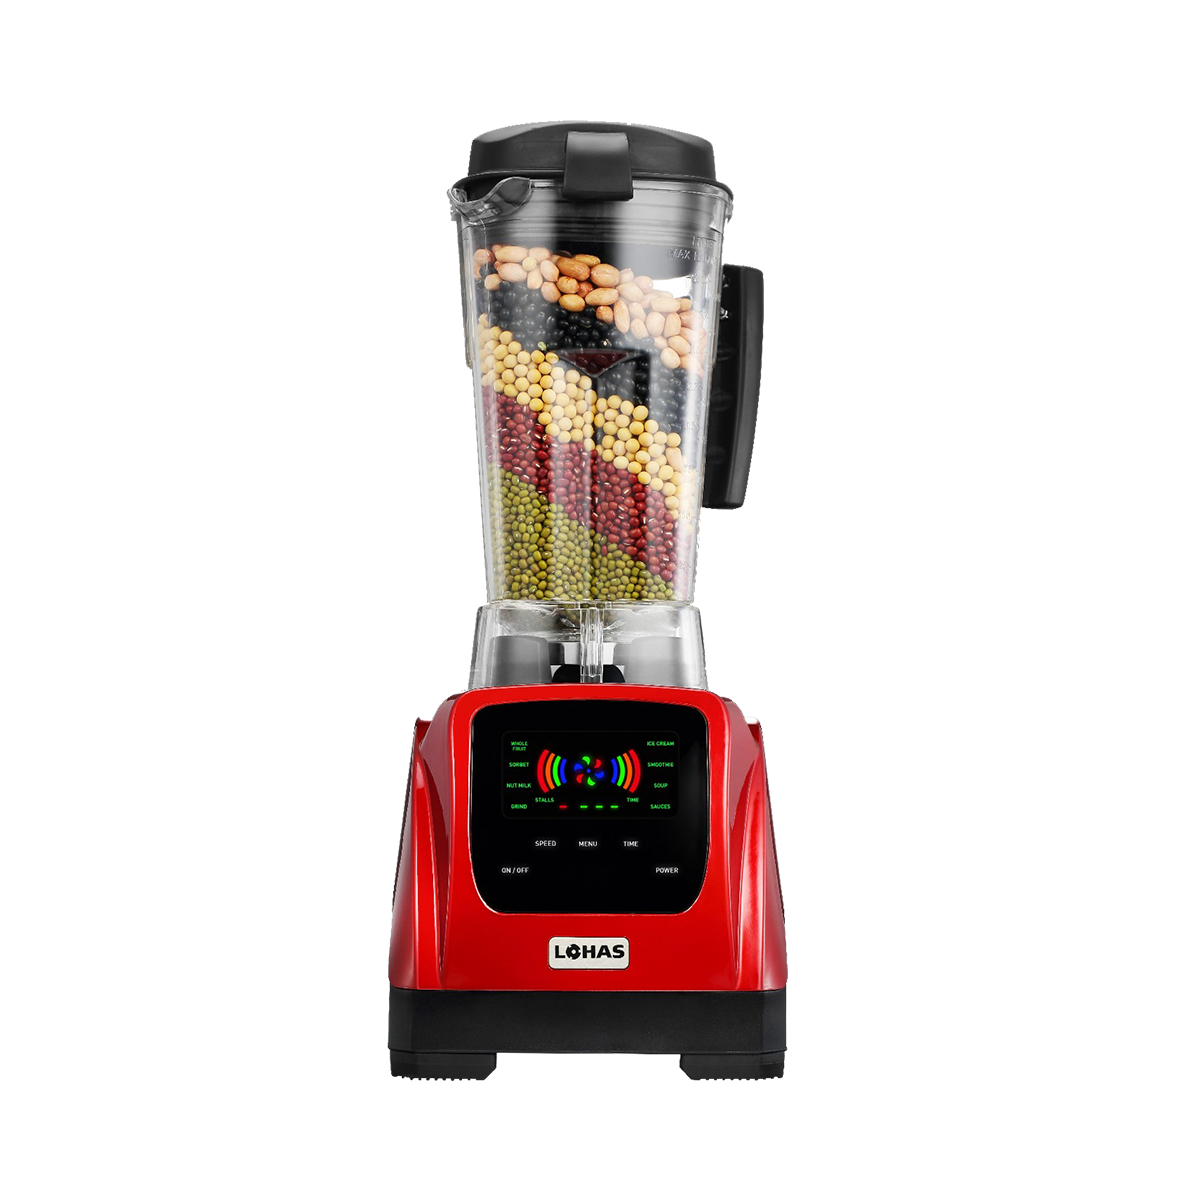
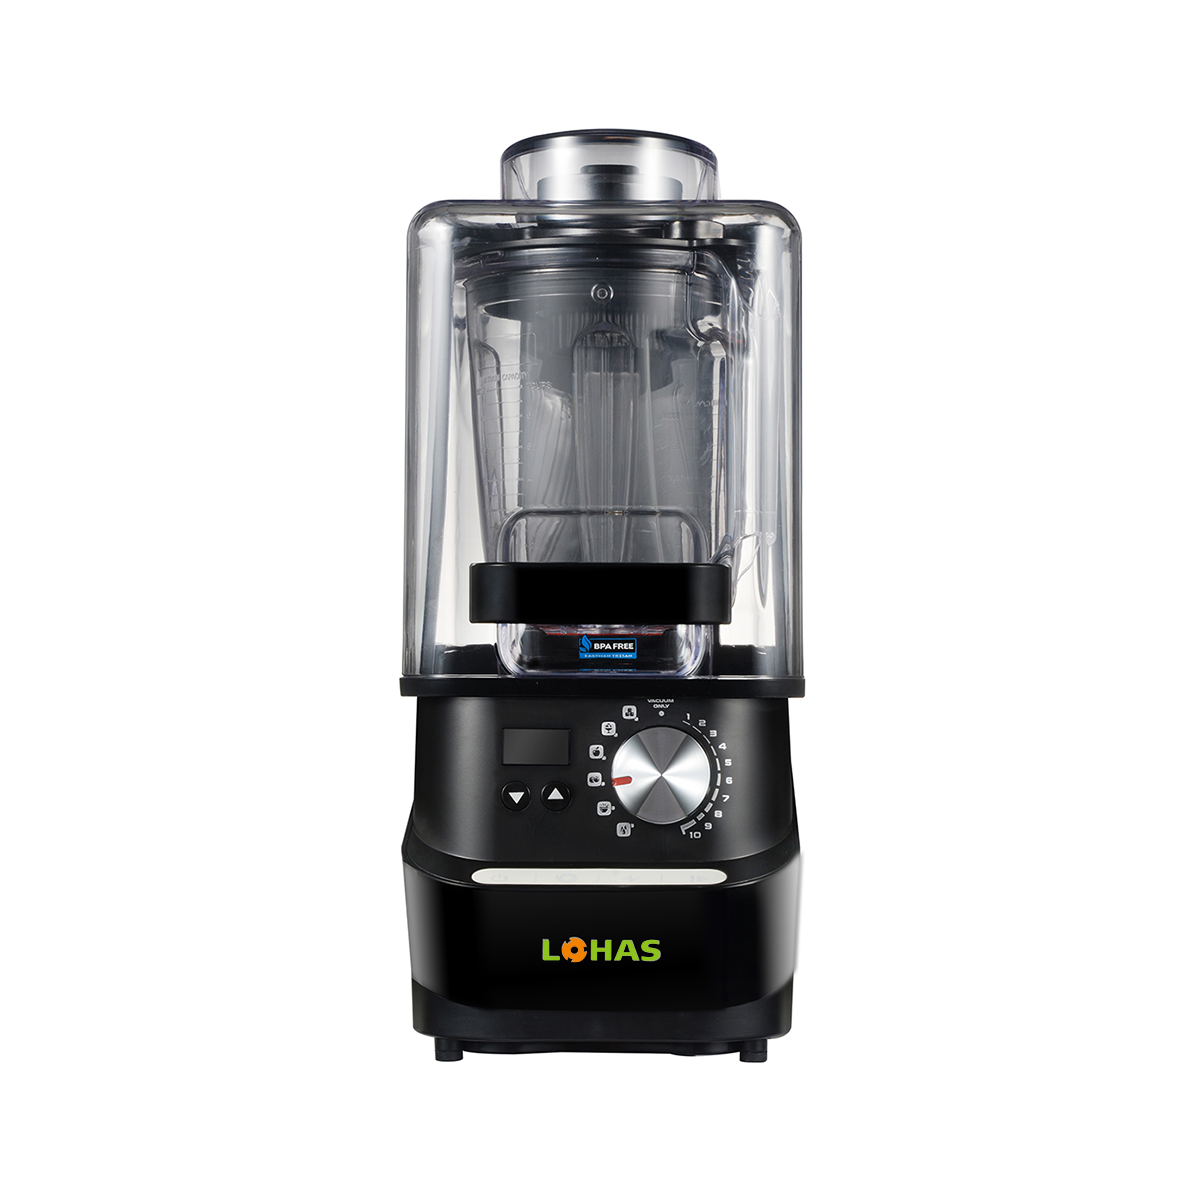
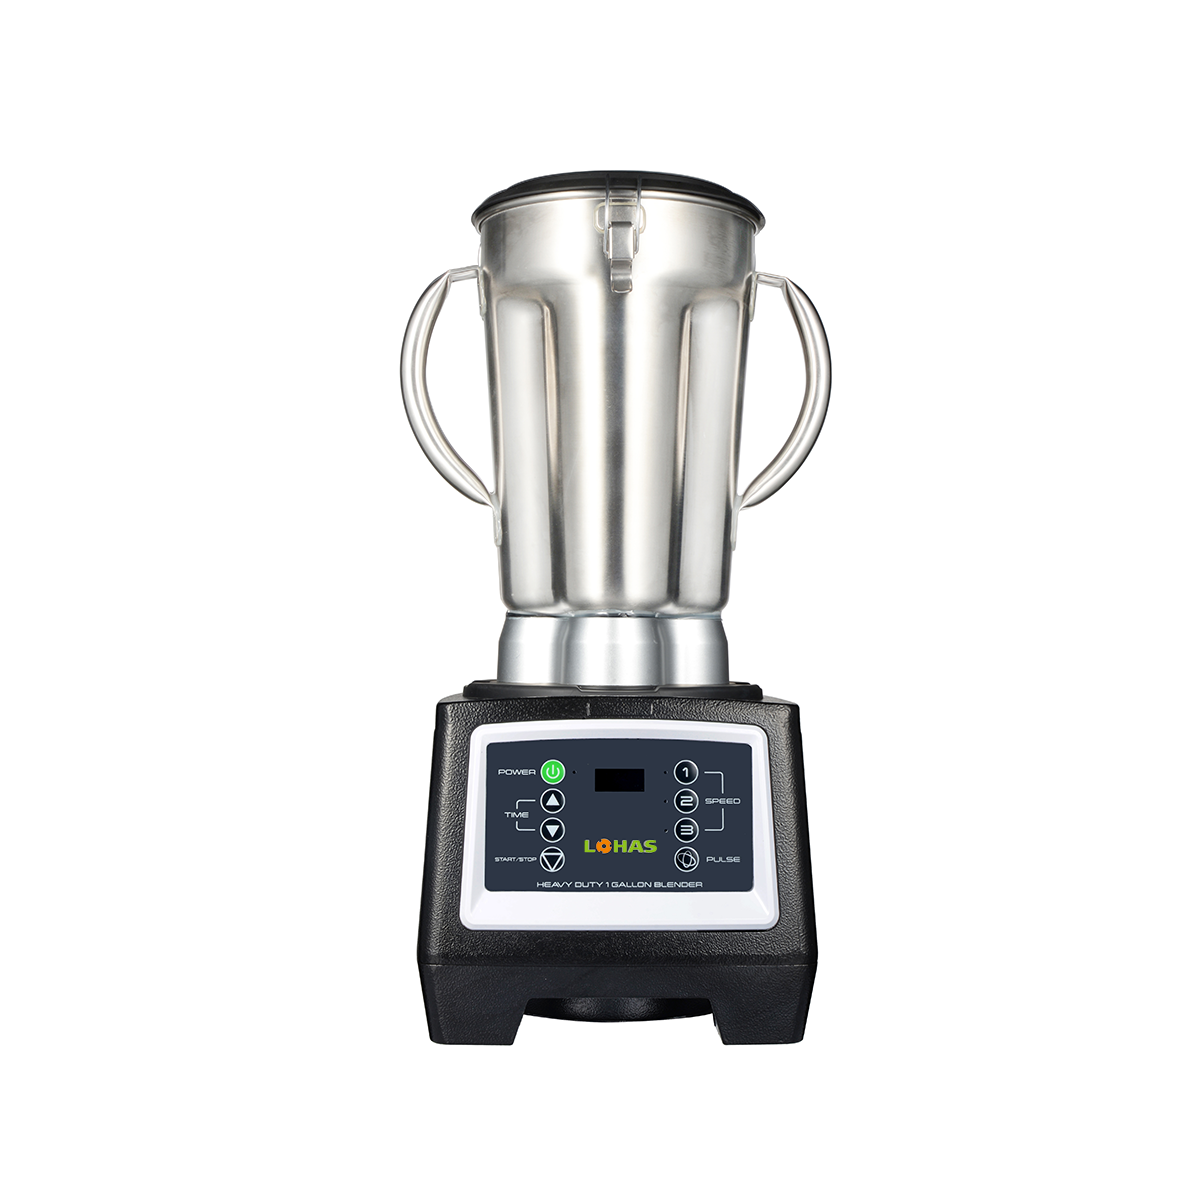
Your automatic blender works hard to create smoothies, soups, and sauces. Keeping it in top shape ensures it performs efficiently and lasts longer. Regularly clean and maintain your blender to avoid costly repairs and replacements. A little effort after each use prevents buildup and keeps your blending experience hassle-free.
Clean and Maintain After Every Use
Rinse the Blender Jar Immediately
After using your blender, rinse the jar right away. This simple step prevents food particles from drying and sticking to the surface. Dried residue can be much harder to remove later. Use warm water to loosen any leftover bits of food. Swirl the water around the jar to dislodge anything stuck to the sides. If you act quickly, you’ll save yourself time and effort during the cleaning process.
Use Warm Water and Dish Soap for Quick Cleaning
For a quick and effective clean, add a few drops of dish soap to the blender jar. Fill it halfway with warm water. Place the lid securely on the jar and run the blender for 20-30 seconds. This method cleans the jar and blades simultaneously. Once done, pour out the soapy water and rinse thoroughly with clean water. Make sure no soap residue remains, as it can affect the taste of your next blend.
Deep Clean for Thorough Maintenance
Use a Vinegar or Baking Soda Solution
Sometimes, quick cleaning isn’t enough to remove stubborn residue or buildup. For a deeper clean, use a vinegar or baking soda solution. Vinegar works well to break down grease and grime. Mix one part white vinegar with two parts warm water. Pour the solution into the blender jar and let it sit for 10-15 minutes. This loosens any stuck-on particles. After soaking, scrub gently with a soft sponge and rinse thoroughly.
Baking soda is another excellent option. It acts as a natural cleaner and deodorizer. Create a paste by mixing baking soda with a small amount of water. Apply the paste to areas with stains or buildup. Let it sit for a few minutes before scrubbing and rinsing. Both methods leave your blender fresh and ready for use.
Blend Warm Soapy Water for a Deep Clean
Blending warm soapy water is an effective way to clean and maintain your blender. Fill the jar halfway with warm water and add a few drops of dish soap. Secure the lid and run the blender on high speed for 30-60 seconds. This process cleans the blades and jar thoroughly. After blending, pour out the soapy water and rinse the jar with clean water.
For extra cleaning power, add a teaspoon of baking soda to the soapy water. This helps remove any lingering odors or stains. Always ensure you rinse well to avoid soap residue.
Proper Care for Blender Blades
Inspect and Clean Blades Regularly
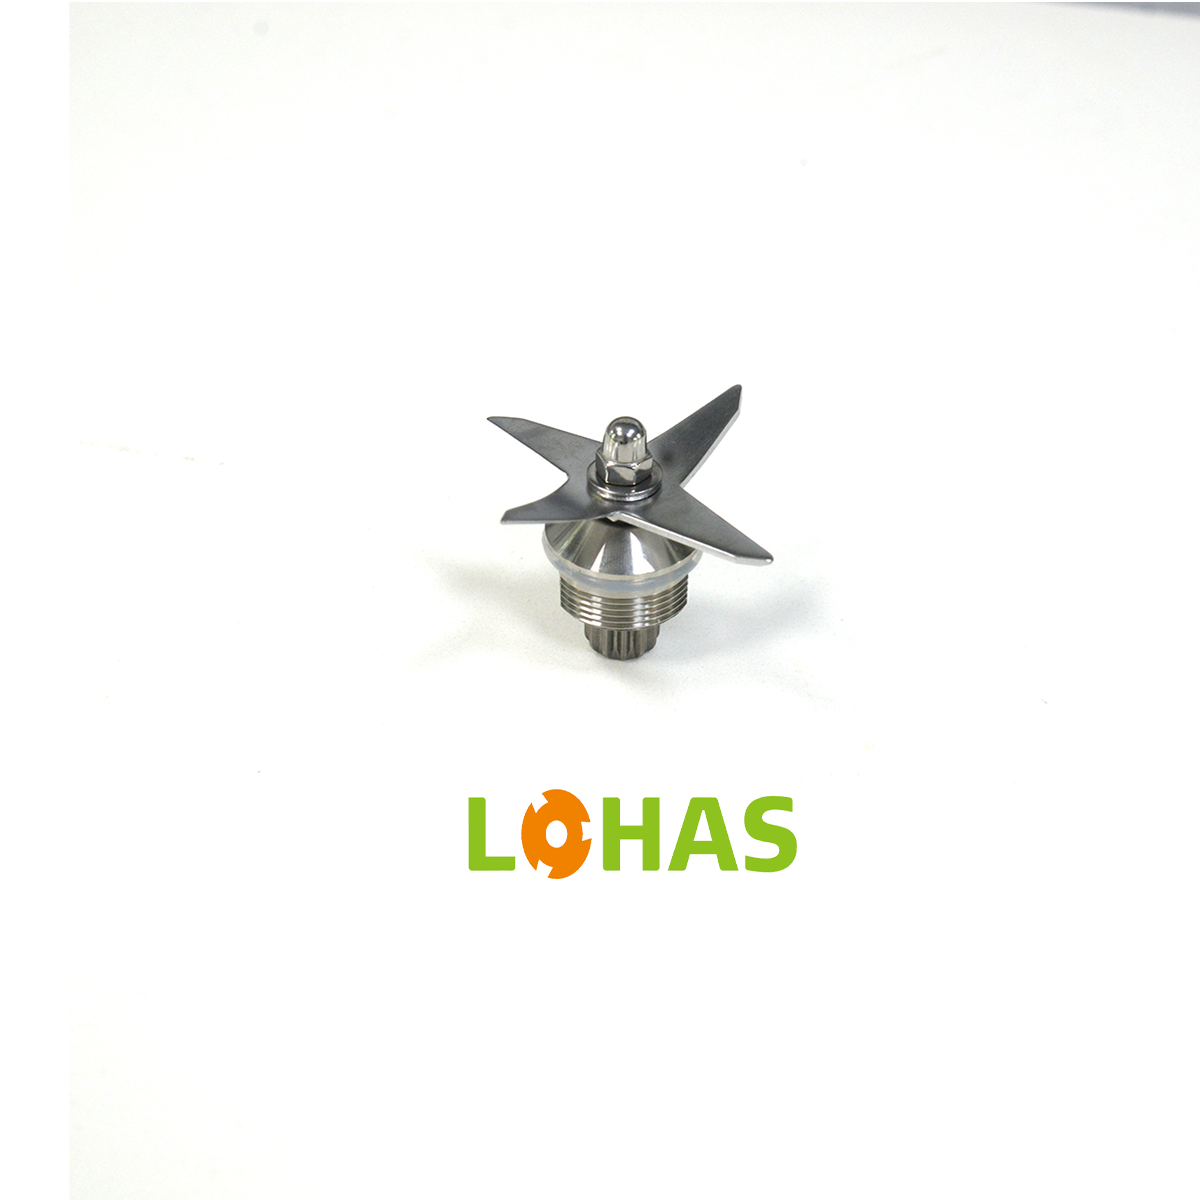
Blender blades are the heart of your appliance. Keeping them clean and in good condition ensures smooth blending and prevents wear. After each use, inspect the blades for stuck food particles or residue. Even small bits of food can harden over time, making cleaning more difficult. Use a soft brush or sponge to gently clean the blades. Warm, soapy water works best for removing grease and buildup.
For a more thorough clean, detach the blades if your blender allows it. Soak them in warm water mixed with a few drops of dish soap for 10-15 minutes. This loosens any stubborn residue. After soaking, rinse the blades under running water and dry them completely with a soft cloth. Moisture left on the blades can lead to rust, which affects performance.
Avoid Abrasive Scrubbers to Prevent Damage
Using abrasive scrubbers or harsh cleaning tools can scratch and dull your blender blades. Scratches not only reduce the blades' efficiency but also create spaces where food particles can hide. Instead, stick to non-abrasive sponges or brushes. These tools clean effectively without damaging the surface.
If you encounter tough stains or stuck-on food, let the blades soak in warm, soapy water before cleaning. Avoid using steel wool or harsh chemicals, as these can corrode the metal. Gentle cleaning preserves the sharpness and longevity of your blades, ensuring they perform at their best.
Avoid Overloading the Blender
Follow Capacity Guidelines from the Manufacturer
Every blender comes with a recommended capacity limit. Exceeding this limit can strain the motor and reduce its lifespan. Always check the user manual for the maximum fill line or capacity guidelines. Overfilling the jar can lead to uneven blending or even cause the motor to overheat.
When blending liquids, leave some space at the top of the jar. This prevents spills and allows the ingredients to circulate properly. For thicker mixtures, such as nut butters or dough, use smaller amounts to avoid overloading the motor.
Blend in Smaller Batches for Better Results
Blending in smaller batches improves efficiency and reduces wear on your blender. Large quantities of ingredients can overwhelm the blades, leading to uneven textures or incomplete blending. By working in smaller portions, you allow the blades to move freely and process the ingredients thoroughly.
For tough ingredients like frozen fruits or ice, blending smaller amounts ensures smoother results. If you need to prepare a large recipe, divide the ingredients into multiple batches. This method not only protects your blender but also saves you time by avoiding re-blending.
Perform Routine Maintenance
Tighten Loose Screws and Parts
Routine maintenance keeps your blender running smoothly. Over time, screws and parts can loosen due to regular use. Loose components may cause vibrations, unusual noises, or even affect blending performance. Inspect your blender regularly to identify any loose screws or parts.
Use a screwdriver to tighten screws on the base, jar, or blade assembly. Check the blender jar handle and lid for any wobbly parts. If your blender has detachable blades, ensure they are securely fastened. Tightening these components prevents unnecessary wear and tear.
Check the Power Cord for Wear or Damage
The power cord is a critical part of your blender. A damaged cord can pose safety risks, such as electrical shocks or fires. Examine the cord for fraying, cracks, or exposed wires. Pay attention to the plug and the area where the cord connects to the blender base.
If you notice any damage, stop using the blender immediately. Replace the cord or consult a professional for repairs. Avoid wrapping the cord tightly during storage, as this can weaken it over time. Instead, loosely coil it to maintain its integrity.
Regularly clean and maintain your blender to keep it running smoothly for years. Consistent care prevents costly repairs and ensures hassle-free blending. By following these tips, you’ll enjoy better performance and save money in the long term. A well-maintained blender delivers reliable results every time you use it.

